포토샵 후광효과 만들기
 포토샵으로 시선집중 후광효과 만들기
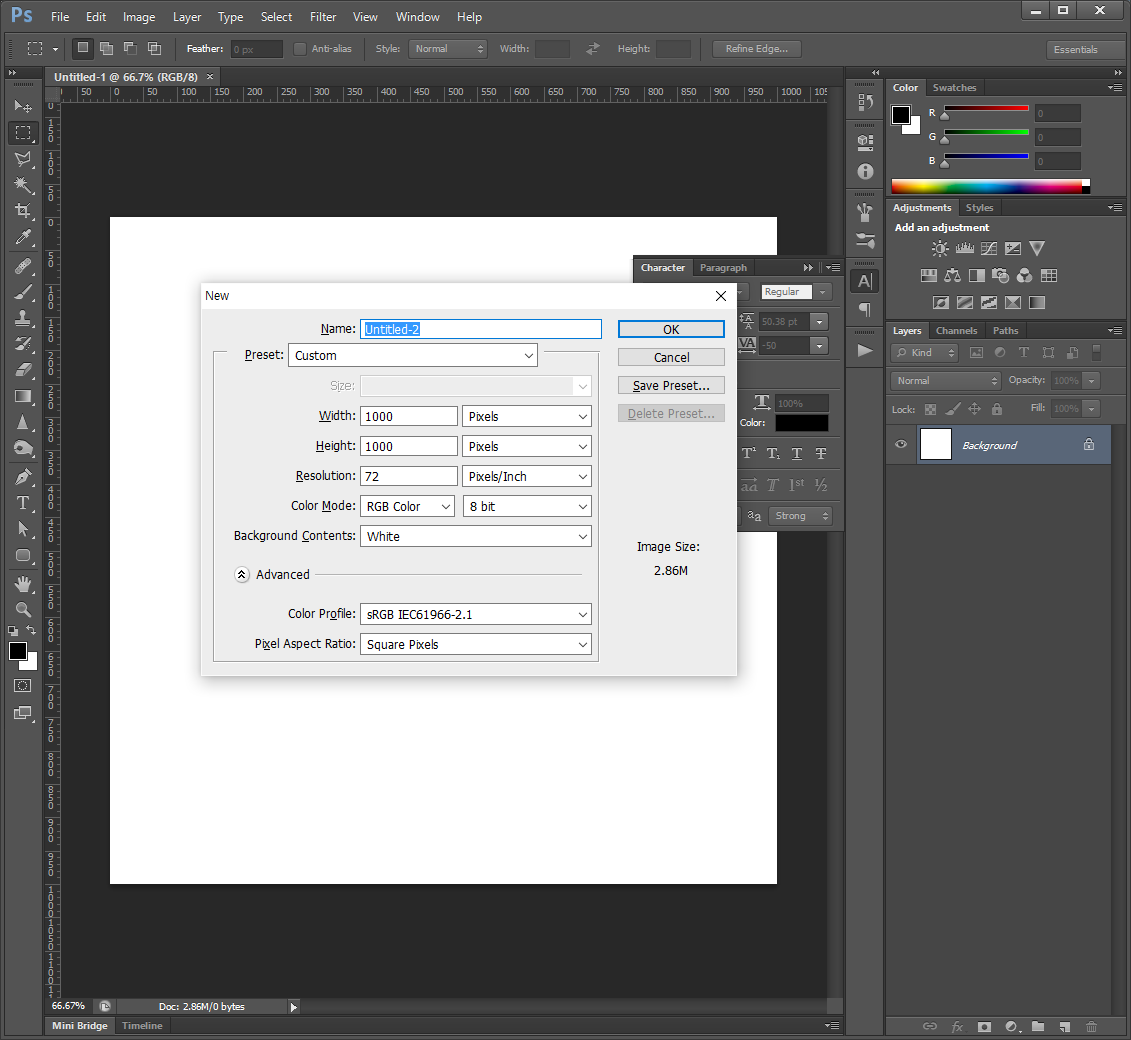
1. 원하는 이미지의 사이즈로 새문서를 엽니다. (단축키 : ctrl+N)
2. 전경색을 확인하고 원하는 색으로 바꿉니다. (저는 검은색 그대로 두었습니다.)

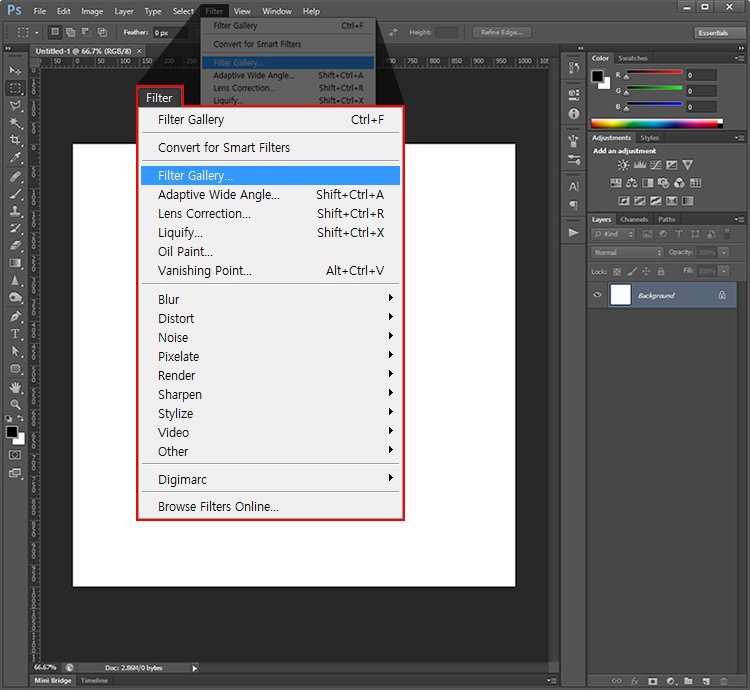
3. Filter > Filter Gallery
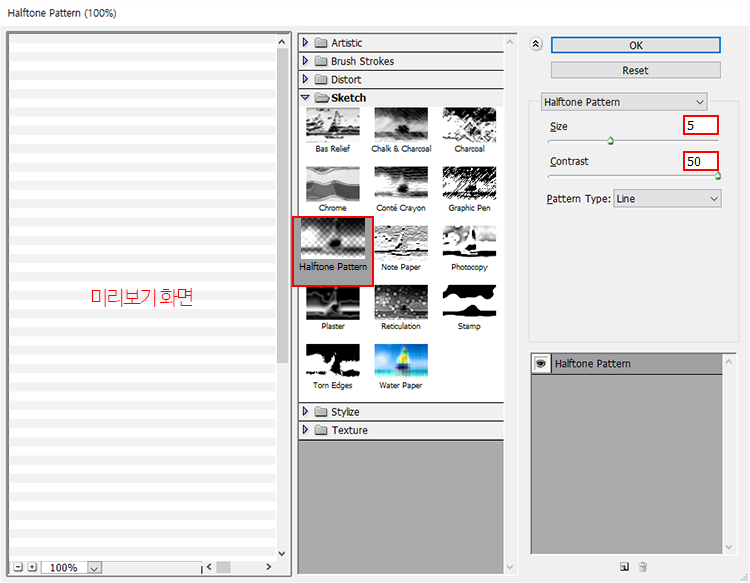
4. Filter Gallery 에서 Sketch > Halftone Pattern 선택 후 Size : 5, Contrast : 50 입력
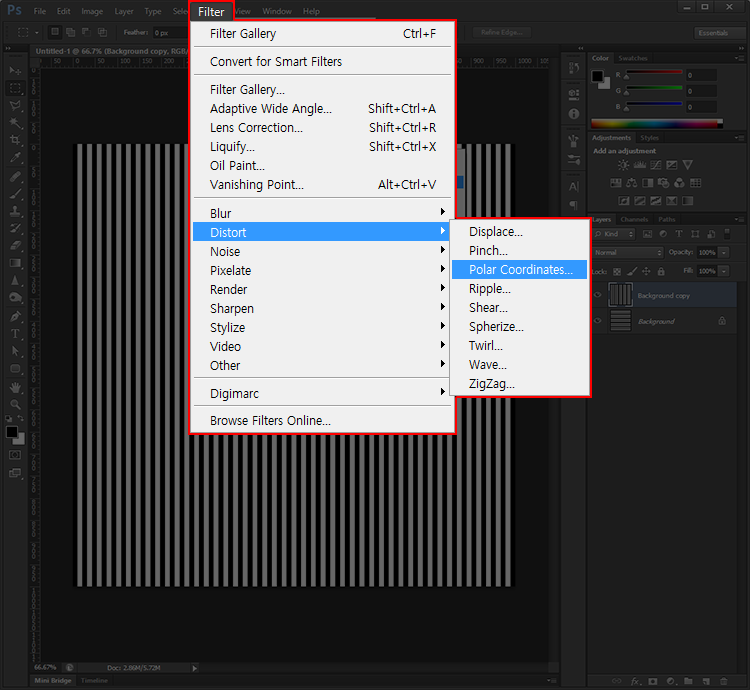
5. 4번과 같이 효과 적용한 이미지를 Image > Image Rotation > 90도로 회전시켜 주거나, 레이어 복제 후 단축키 Ctrl+T로 줄무늬가 세로로 보이도록 회전시켜 줍니다.
6. Filter > Distort > Polar Coordinates...
7. 완성 (검은색이랑 흰색이 너무 눈아프게 해서 색깔을 연하게 저장했습니다..)

응용
포토샵 후광효과 만들기
 Reviewed by jieun
on
오후 4:10
Rating:
Reviewed by jieun
on
오후 4:10
Rating:
Reviewed by jieun
on
오후 4:10
Rating:
댓글 없음: